Guiding you on how to install wall tiles in your kitchen: A comprehensive, do-it-yourself tutorial by an expert
Tiling a kitchen wall can be a rewarding DIY project, transforming the look and feel of your space. Here's a comprehensive guide to help you navigate the process, drawn from the advice of Ryan Meagher, a professional contractor from BVM Contracting.
Before you begin, gather the necessary tools and materials. These include a bucket, mixing paddle and drill, laser level or spirit level, tape measure, permanent marker, notched trowel, grout float, sponge, tile cutter (manual or electric), file, roller and tray, tile saw, silicone gun, and materials like tile adhesive and grout, tiles, spacers, surface primer, tile edging, silicone, and protective covers for worktops, units, and appliances.
Preparing the surface is the first crucial step. Remove any old tiles, grease, dirt, or loose material. Scrape off old grout if present, then clean with water and a mild detergent to remove residue. Ensure the wall is level and free of holes or cracks; repair any damage with filler and sand the surface to make it smooth. If tiling over drywall and it is in good condition, you can tile directly on it; otherwise, install cement backer board for moisture resistance. For glossy tiles or surfaces, lightly sanding or applying a primer improves tile adhesion.
When tiling over existing tiles, clean and dry thoroughly, sand glossy tiles with fine grit sandpaper to remove the glaze, or use a primer on porous tiles to prevent adhesive absorption. Preparing the surface with a primer like Mapei Clear Plaster primer is a good idea when tiling on fresh plaster or plasterboard.
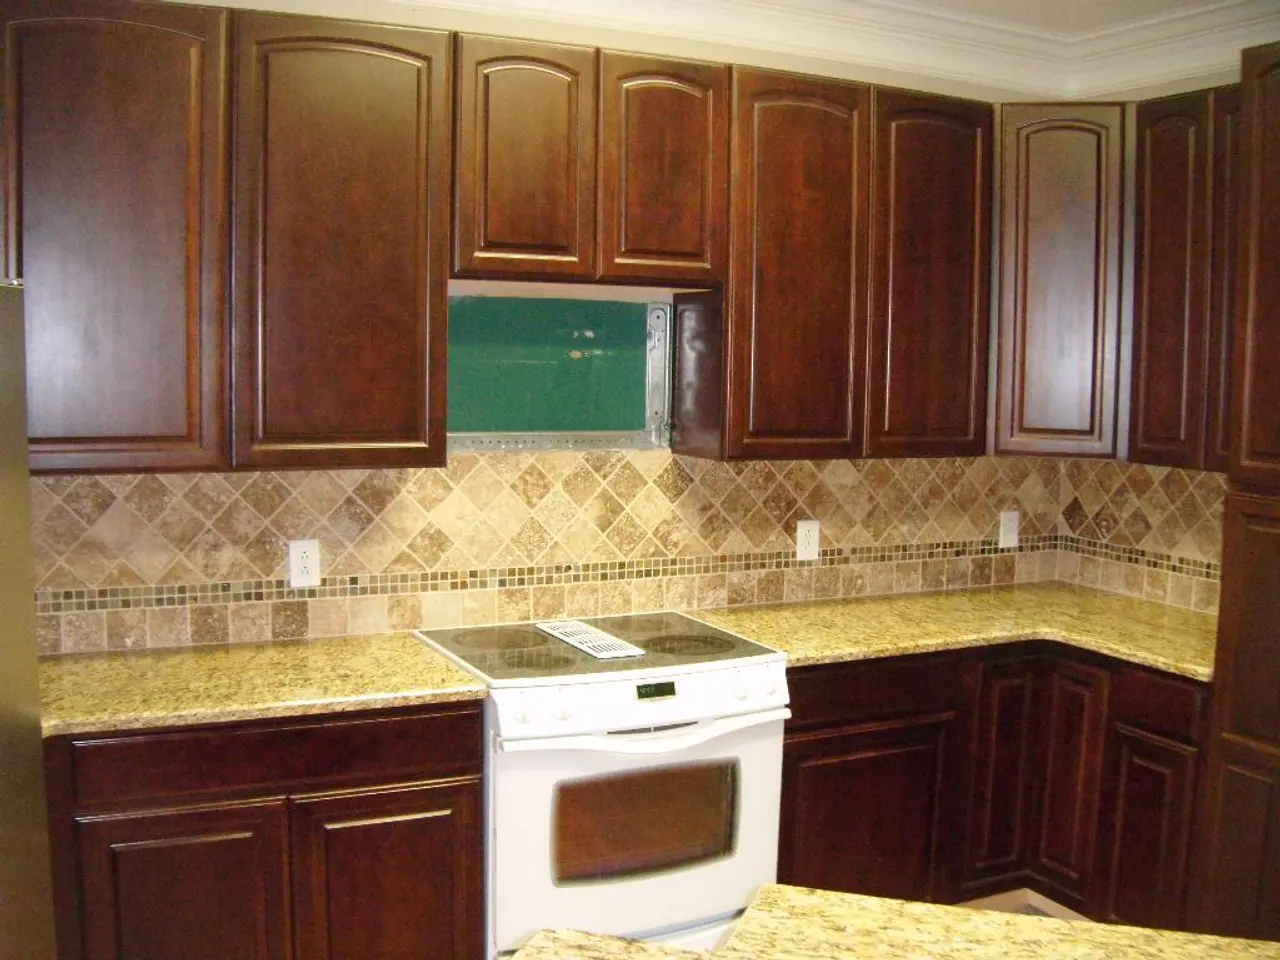
Choosing the perfect tile and planning where to start are essential aspects of the project. A good place to start tiling is at the centre of the cooker or another distinguishing feature that your eye is drawn to as you enter the room, or in the centre of the room. Alternatively, you may like to start slightly off-centre so that you don't end up having to make difficult cuts in the corners.
When installing tiles around electrical sockets, Ryan Meagher suggests cutting tiles to uncover the holes of the electrical socket box. If multiple electrical sockets are present, figure out a configuration that leads to the easiest cuts into the tile. Ryan Meagher suggests starting the tile so the edge of the tile starts on one side of the electrical socket for easier cuts.
To make the screwing process easier, Ryan Meagher suggests using longer screws or cheating the box out a bit. He also advises using a viscous grout to avoid having a lot of it fall off the tile. Leave 24 hours for the adhesive to dry before grouting.
When it comes to tiling a kitchen wall, starting above a countertop can be a good beginner project. Remember to prepare the surface thoroughly, use the right tools and materials, and follow the steps outlined here for a successful tiling project. And don't forget to choose a silicone designed for the kitchen that is flexible and mould-resistant. Happy tiling!
- The costs for tiling a kitchen wall may include a tile adhesive, grout, tiles, spacers, surface primer, tile edging, silicone, protective covers for worktops, units, and appliances, and tools like a bucket, mixing paddle and drill, laser level or spirit level, tape measure, permanent marker, notched trowel, grout float, sponge, tile cutter (manual or electric), file, roller and tray, tile saw, silicone gun, and a tile saw.
- After gathering the necessary tools and materials, preparing the surface is the first crucial step, which involves removing any old tiles, grease, dirt, or loose material, scraping off old grout, cleaning with water and a mild detergent, ensuring the wall is level and free of holes or cracks, and sanding the surface to make it smooth.
- Choosing the perfect tile and planning where to start are essential aspects of the project, with a good idea being to begin at the centre of the cooker or another distinguishing feature that your eye is drawn to as you enter the room.
- When installing tiles around electrical sockets, cutting tiles to uncover the holes of the electrical socket box can be beneficial, and figuring out a configuration that leads to the easiest cuts into the tile might be necessary when multiple electrical sockets are present.
- To make the screwing process easier, using longer screws or cheating the box out a bit can be helpful, as well as using a viscous grout to avoid having a lot of it fall off the tile.
- A comprehensive guide for tiling a kitchen wall can help navigate the process, drawn from the advice of a professional contractor like Ryan Meagher from BVM Contracting.
- When the project is completed, considering a silicone designed for the kitchen that is flexible and mould-resistant can help maintain the look and feel of the space, contributing to a satisfying lifestyle and improving the overall design of your home, including the home-and-garden area.


